


Step 1: Fill out a form and I will reach out and send you a link for you to fill out your design and material preferences! This is also a great time to send over any design boards or pinterest boards you have! If you have opted for a custom package (or have further questions) we may also set up a consultation call to discuss your custom paper needs.
Step 2: When filling out your design and vision information, I’ll ask specific questions about elements you want in your suite so I can be as informed as possible before starting your initial sketch!


Step 3: Once I receive your vision, I’ll send over the contract and deposit links. The 25% deposit secures your spot in my calendar! After that we begin the design process! I’ll send you a Google Drive folder for you to fill out all the details (names, dates, times, etc.) for each of the cards in your suite, as well as a google sheet for you to input all of your addresses.
Step 4: I start the proofing process by sketching up a general design of your full suite for your approval, based on the consultation, inspiration, and ideas you have. Once the general design is approved, I begin painting and I send fonts over for your selection. After that, the suite begins to come together! I allow for up to 5 rounds of revisions to be made before sending to print. Any additional rounds of edits may incur an additional fee. If at any point your entire vision changes, we may need to reassess your contract and timeline!
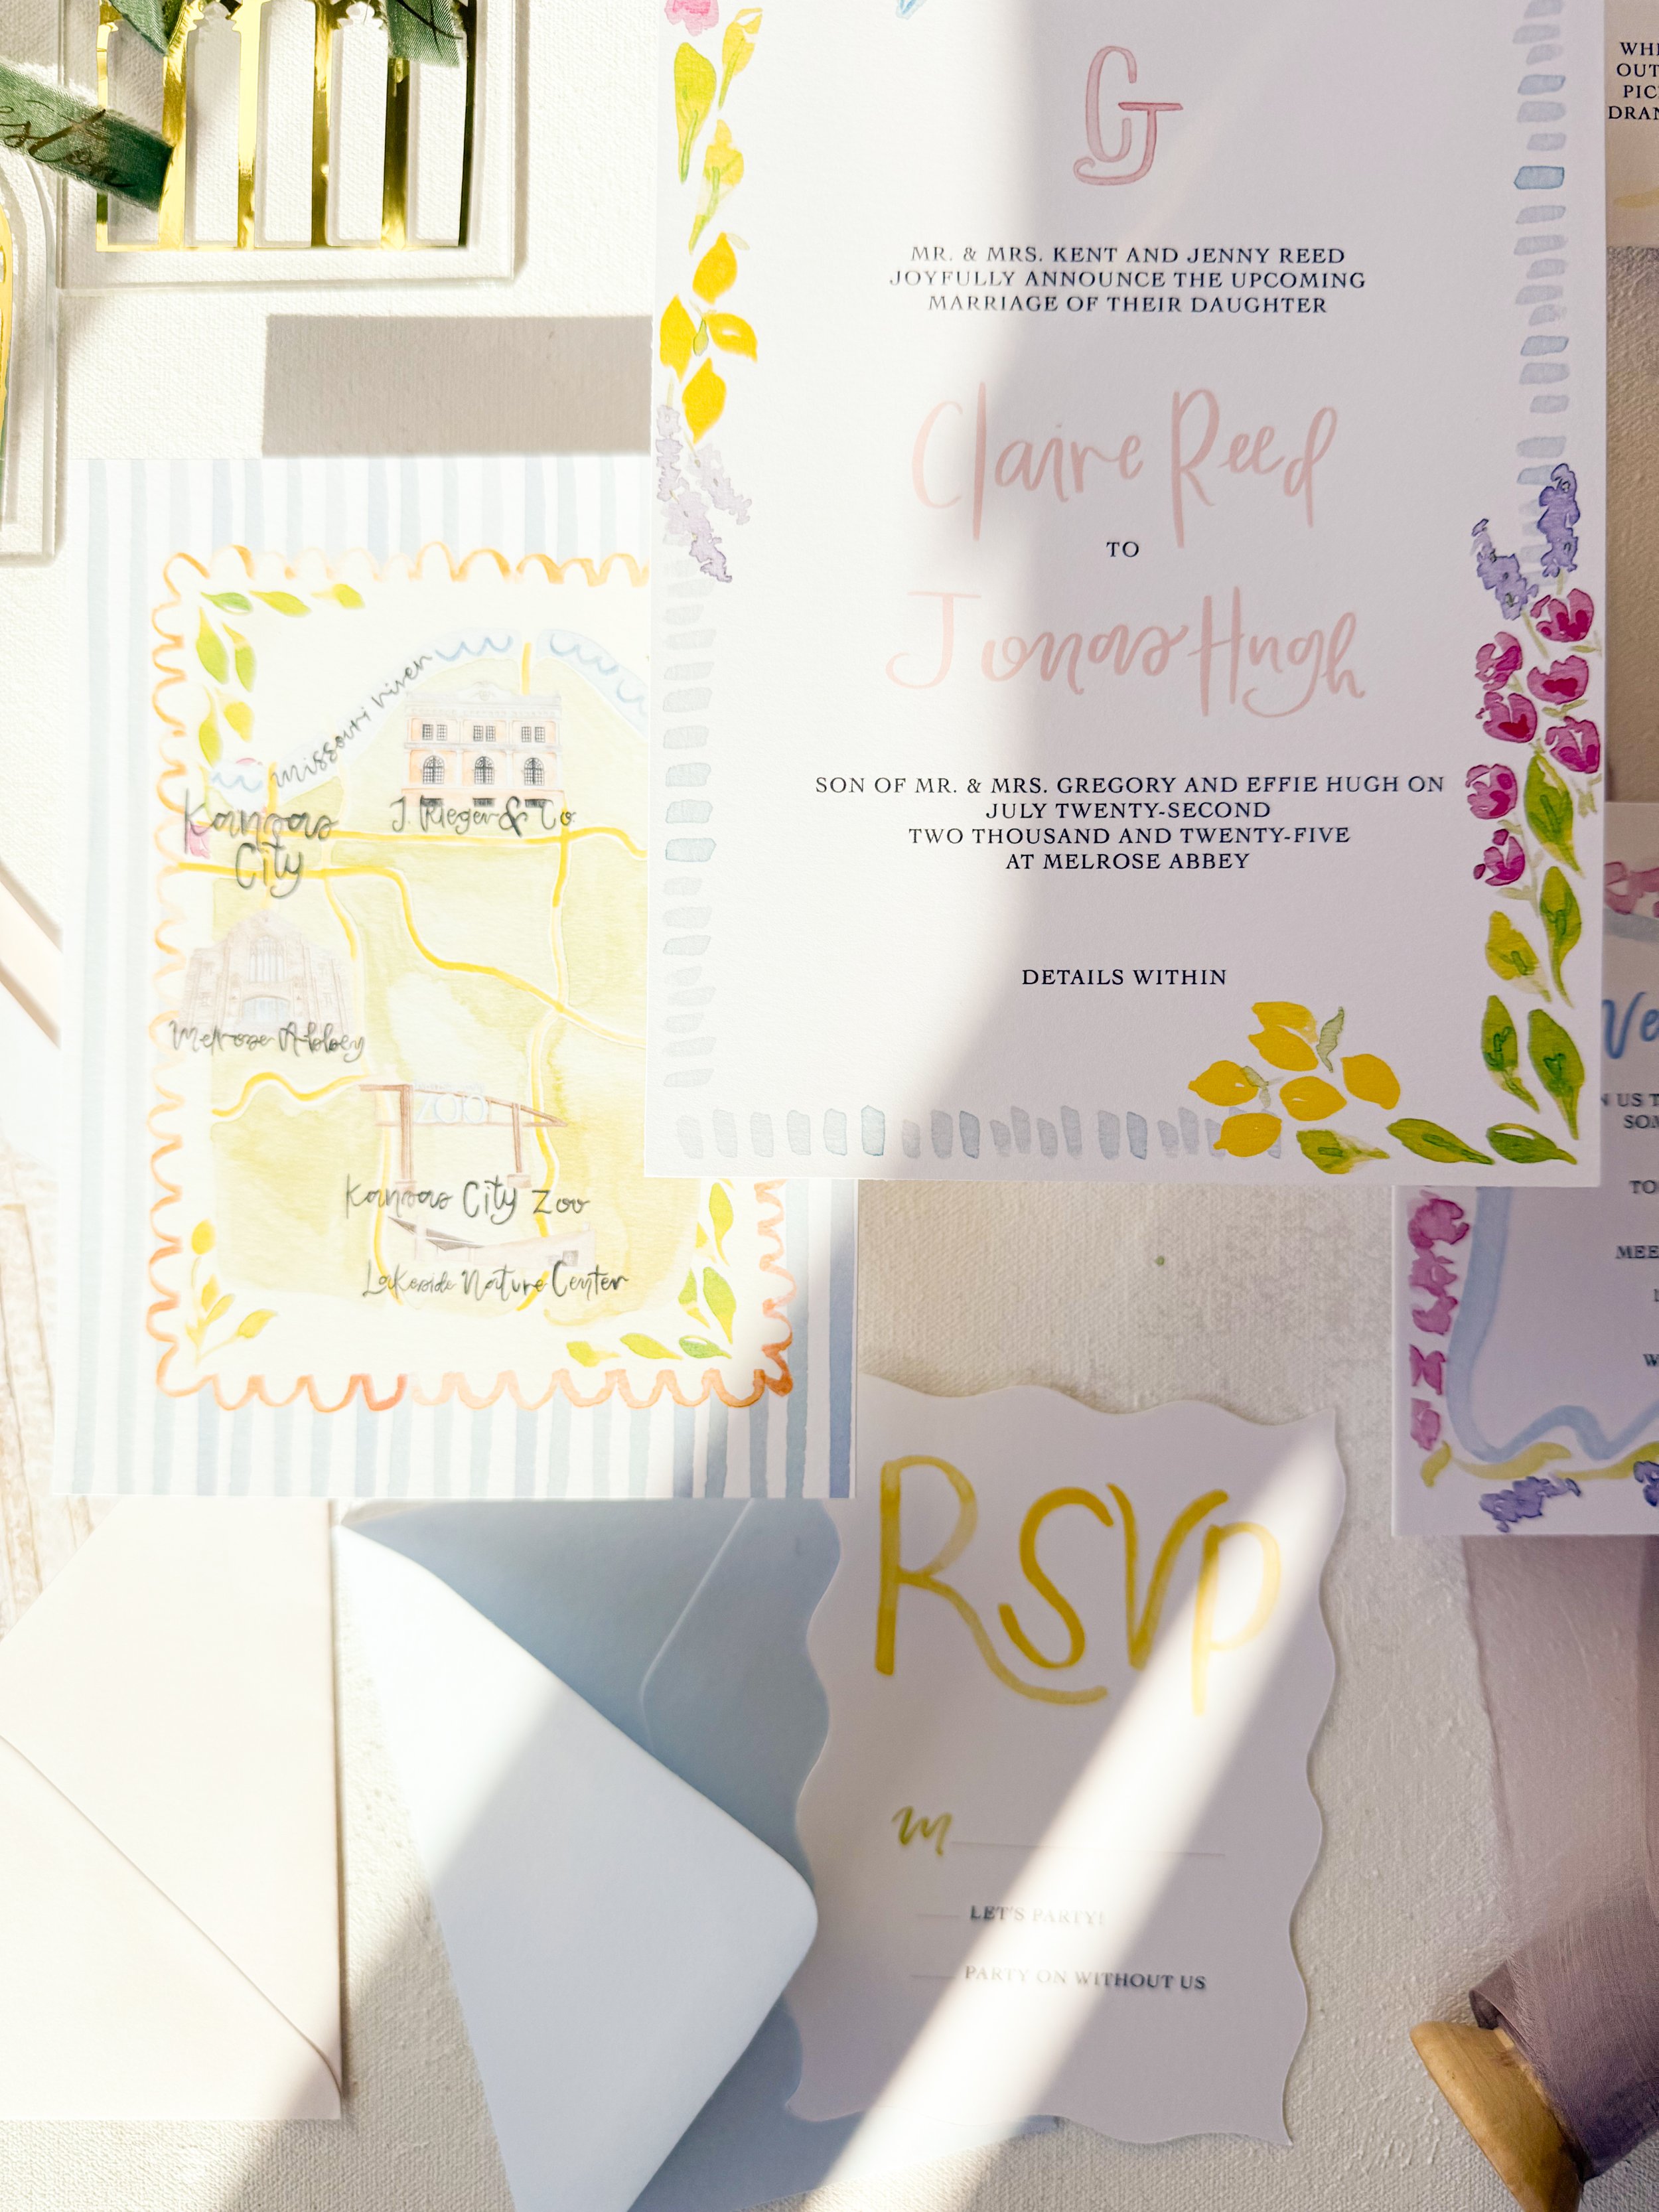
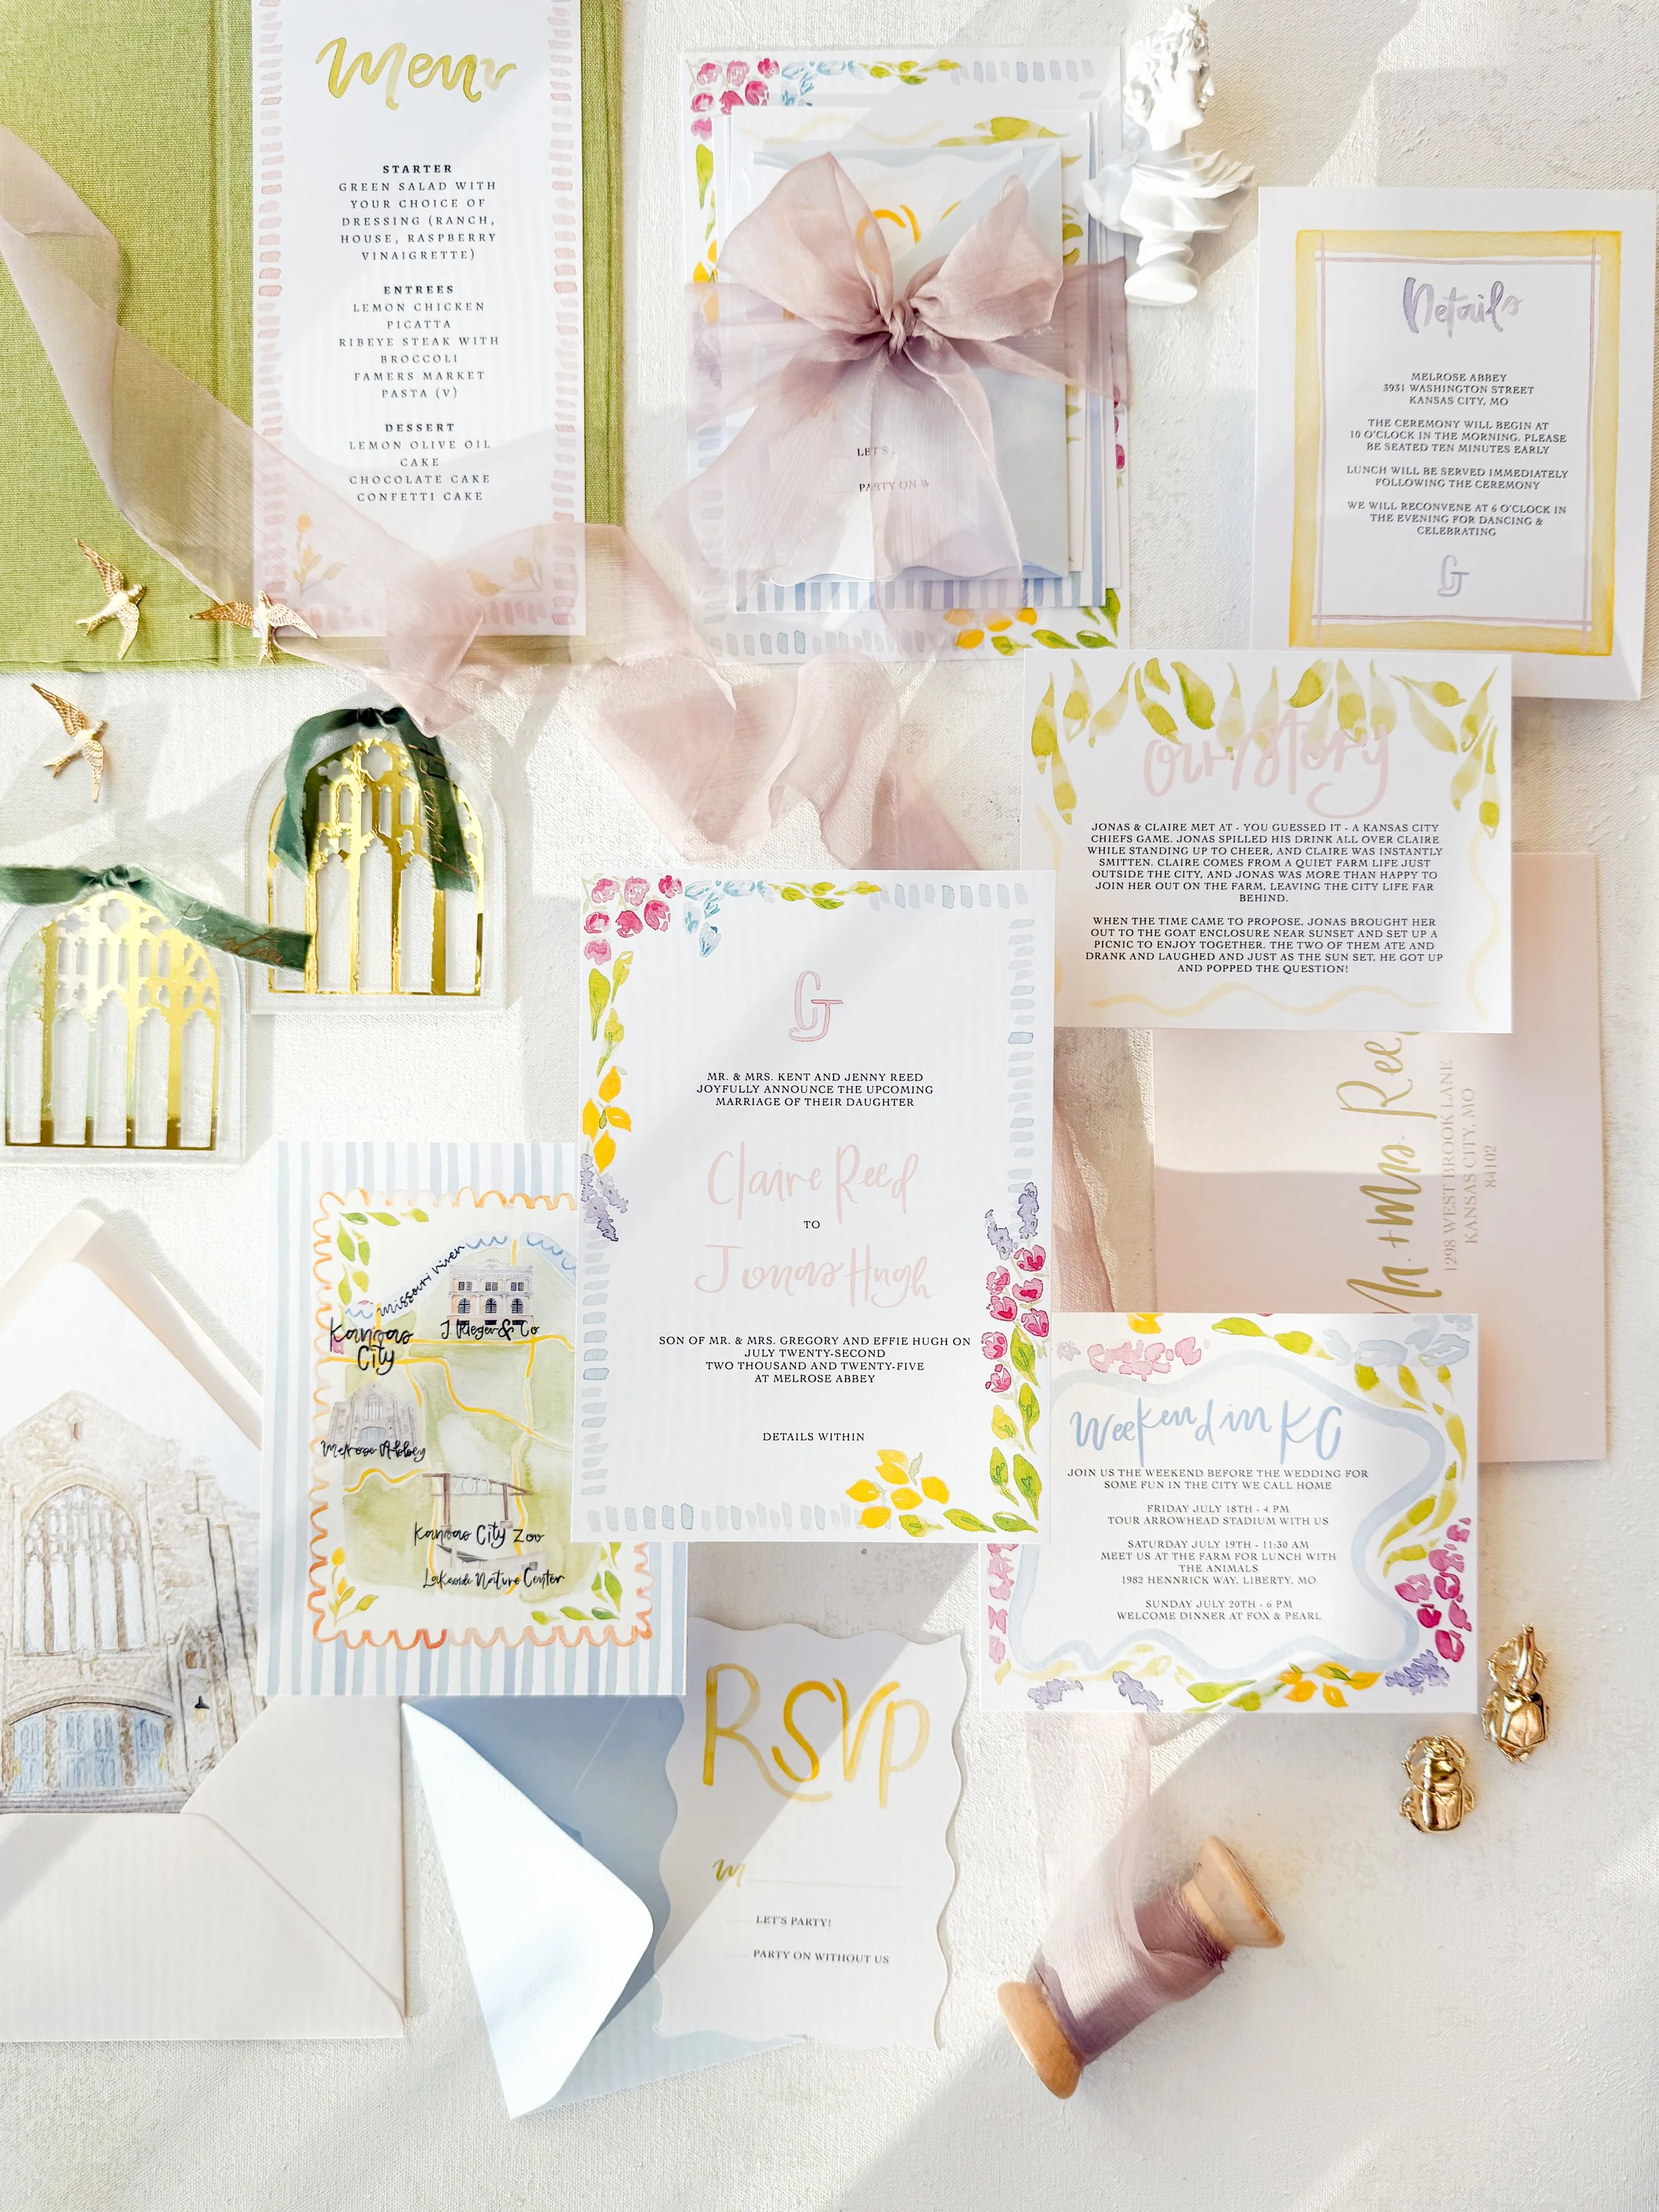
Step 5: Once the suite is designed to your perfect taste and the final payment is made, it’s sent to print! This process takes between 2-4 weeks depending on the print style you selected. Once I’ve received your order and verified that it looks the way it’s supposed to, it gets photographed, assembled, and sent off to you to mail out to your guests for their first impression of your wedding!